
Biochemical Binding Assays for Drug Discovery

My specialty when it comes to assays is cell-based assays. In drug discovery, biochemical assays can also be a useful tool to assess the binding of your biological and therapeutic treatments. In this blog, I’ll talk about the basic principles of these biochemical binding assays, where they fall in the drug discovery pipeline, and talk about a workcell that uses the Octet to measure binding kinetics. My main goal is to give myself a grasp on an unfamiliar type of assay, and it’s an added bonus if you learn something new too!
Binding Biochemical Assay Basics

Ligands are molecules that bind to other molecules. In drug discovery, the treatment being tested is the ligand that binds to the target. For example, Oseltamivir, aka Tamiflu, is a small molecule(ligand) that binds the NA(neuramidase) protein(target) in Influenza A and B to inhibit the release of virions from the cell. In immunology an antibody, like Pembrolizumab(Keytruda), binds to PD-1 receptors on a T-Cell to block tumor inactivation and allows for an immune response.
Biochemical assays measure the binding of the ligands to their targets and gets two measurements: the association constant k1 and the dissociation constant k2. This is used to calculate Kd which is the equilibrium constant. A low Kd is indicative of higher affinity, or how attracted a ligand is to its target, and stronger binding between ligand and target and vice versa. This essentially means that less drug is required to bind to its target. This is the simplest model of the target-ligand relationship. Other methods include a competition assay which pits test ligands against a tracer ligand for binding to the target. This has more clinical relevance because of various interactions in the human body that could inhibit the activity of a treatment. Read the assay guidance manual for more details on specifics for these two assays and beyond. Please see my interpretation of association and dissociation below.
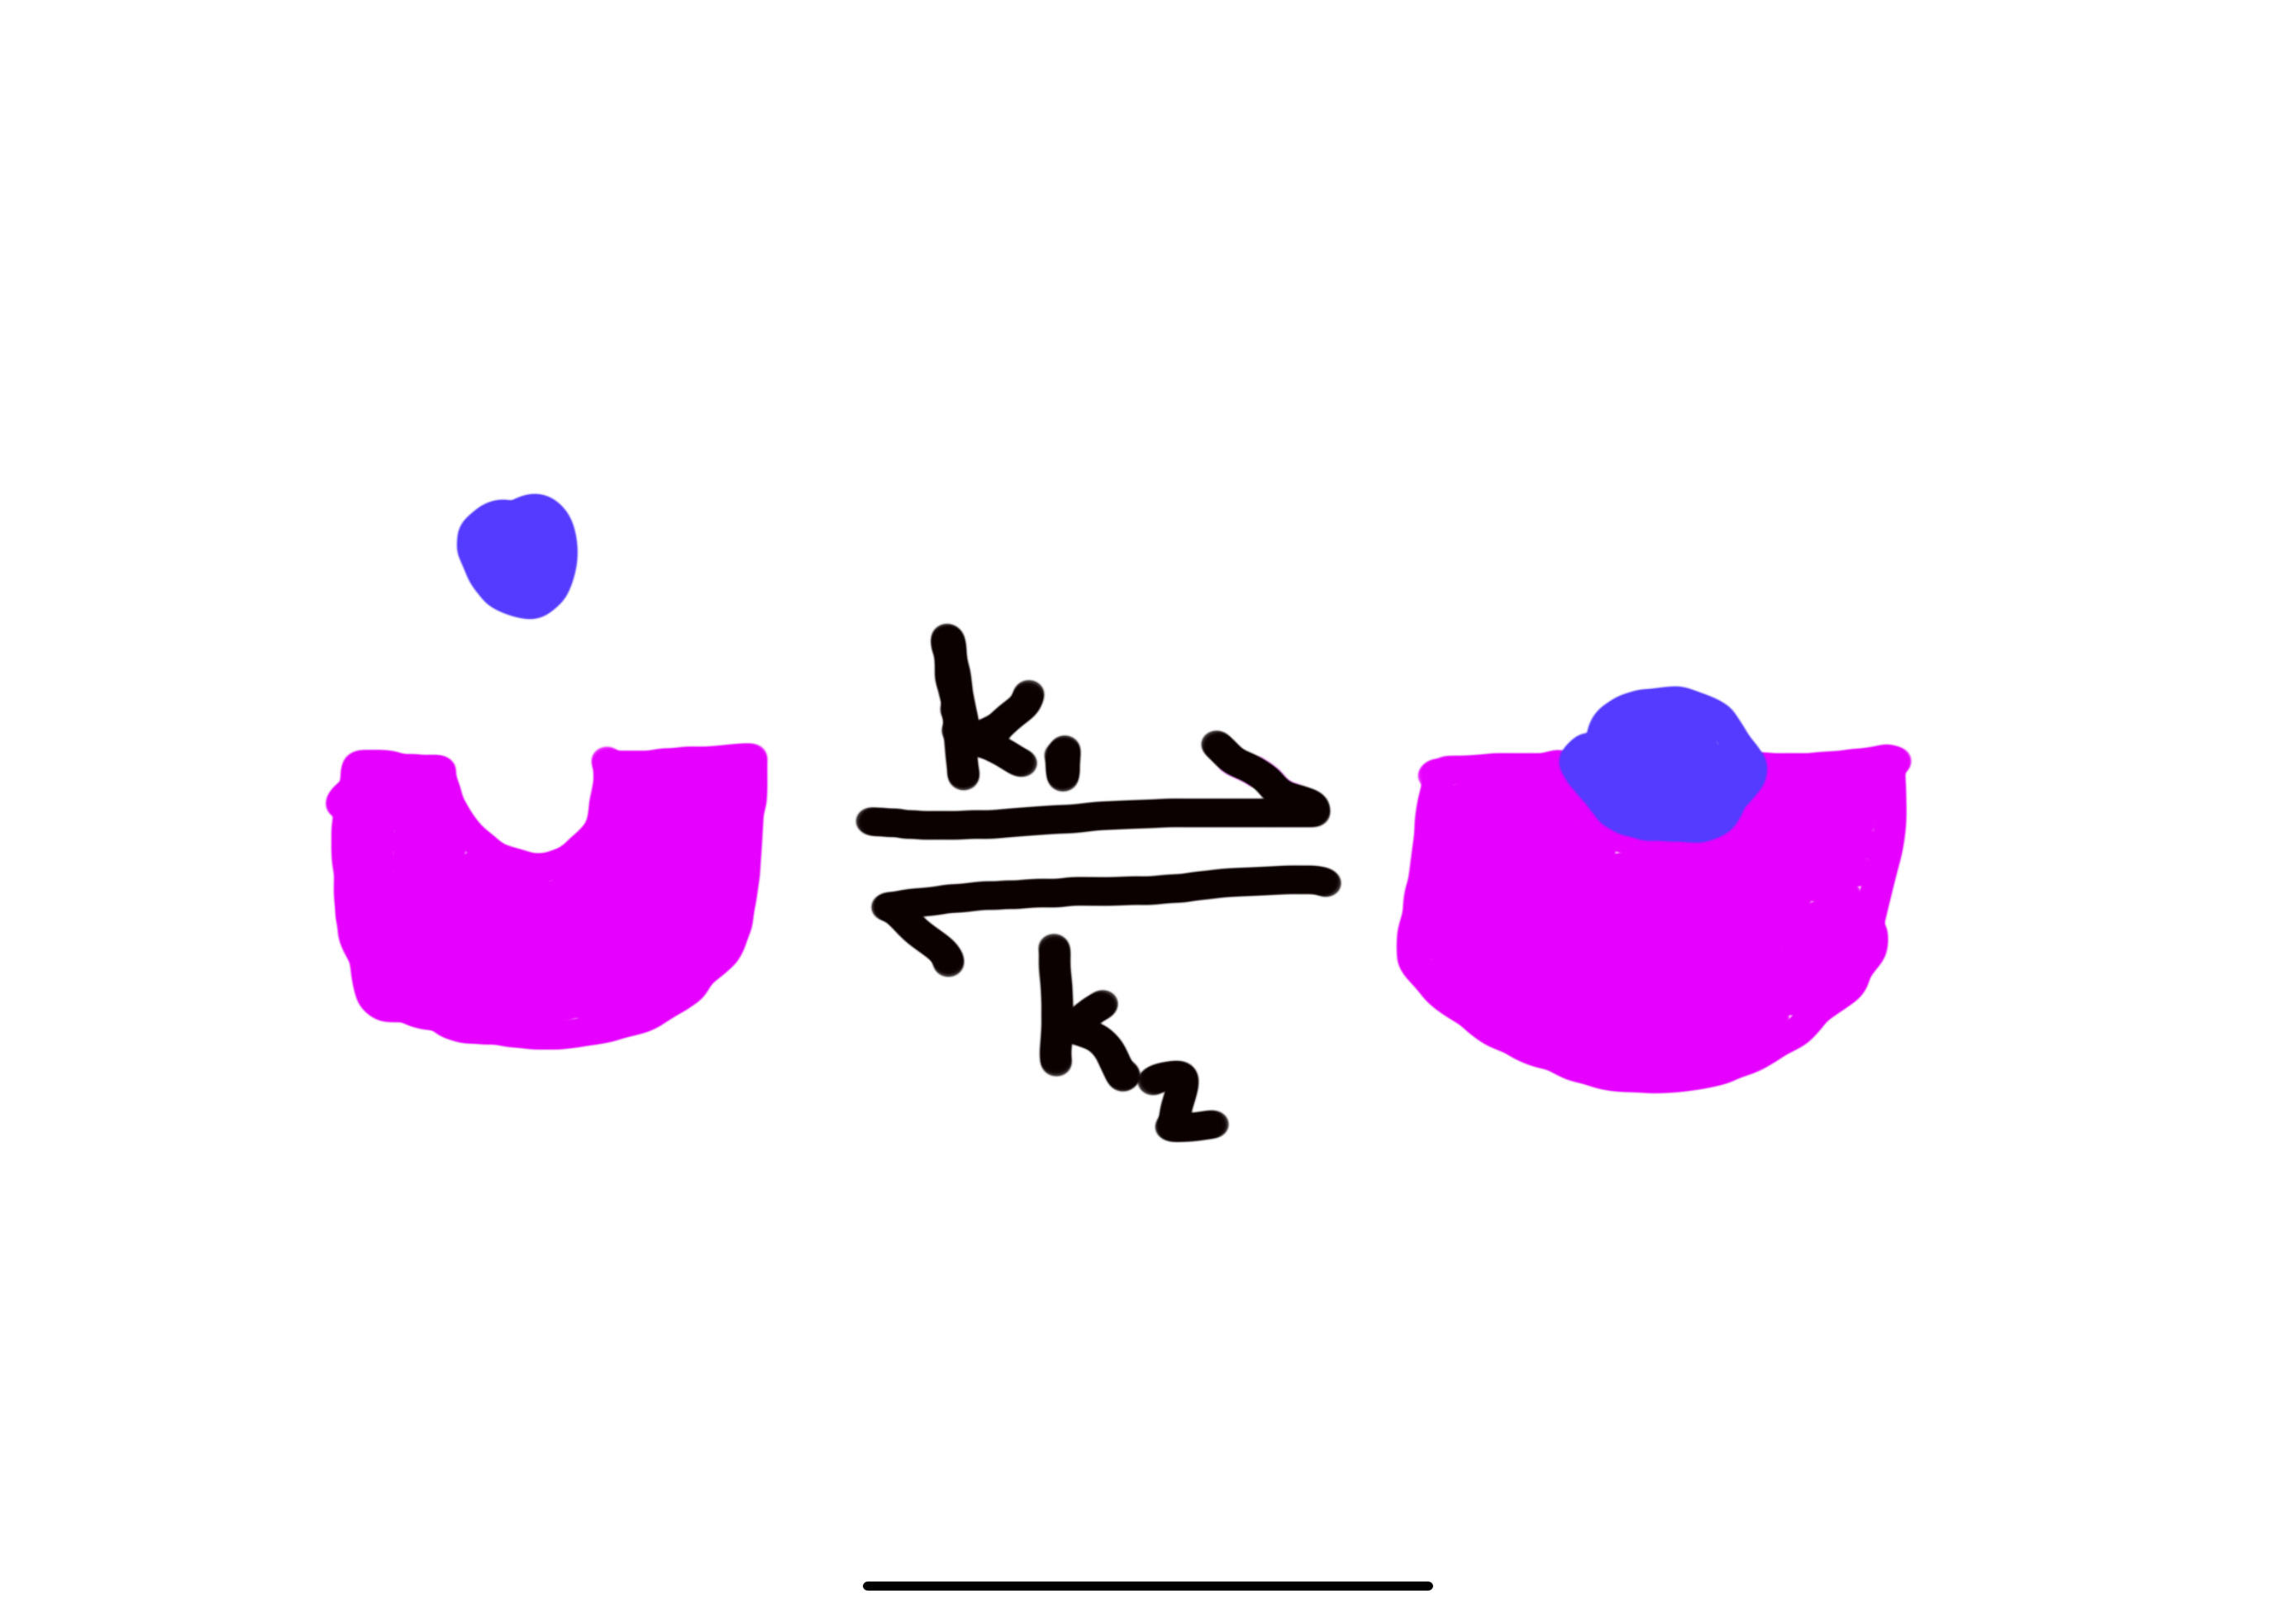
The target(pink) and the ligand(blue) in their bound and unbound forms. Kd is the equilibrium constant where the bound ligand equals the unbound ligand in solution. While the different sizes of the targets in this figure could represent an allosteric change from the ligand, I need to point out that I just lack perspective in my drawings. Please assume that they are the same size ;).
One common technique to find the binding equilibrium is SPR, which stands for surface plasmon resonance. In SPR a ‘binding partner’ is immobilized on a gold surface and another binding partner is introduced in solution. The gold is exposed to a light source below through a prism, and will reflect the light back to a detector. The electrons in the gold, also known as surface plasmons, will absorb the reflected light based on perturbations in their environment, which are bound and unbound ligands. Because of this absorption, a dark spot will be detected at different angles based on the amount of ligand and target that are bound on the surface of the gold. This is a continuous measurement that takes multiple readings over time. The association and dissociation constants can be calculated from this measurement and used to calculate the equilibrium constant, or the point where there is an equal amount of bound and unbound ligand.
Another technique is Biolayer Interferometry (BLI) which passes light through a biolayer and measures the interference of light based on how much bound and unbound analyte there is. You can get similar readouts to SPR using this technology: k1,k2, and Kd. Both techniques measure light interference, since a bound ligand and target will block more light than an unbound one.
I’d like to highlight that these methods of detection are label-free. This means that you don’t need to conjugate(join) your ligand or target with a detection reagent. This allows for the reuse of sample if you want to test multiple targets, for instance.
So, why do we care about this relationship between the test molecule and target? It can be a time and cost saving assay for hit identification, and it can give you a closer look at the mechanism between ligand and target for your lead molecules.
Biochemical Binding Assays in Drug Discovery
After identifying your drug target, in traditional drug discovery, you’ll want to screen as many compounds as possible to find a good starting molecule to iterate on. Biochemical assays are great for these first drug screens, also known as hit identification, for the following reasons:
Timing for a readout is typically in seconds, minutes, or hours.
Single concentration assays can help make quick decisions when using large compound libraries.
Assays are multiplexed: tracking binding over time only requires one plate and samples can be re-used as I had mentioned before.
Less complex disease model allows for closer look at molecule and target interaction allowing for better understanding of mechanism of action with less interference.
Simpler setup and execution compared to cell-based assays.
Simpler setup means more cost effective.
The simpler setup and possibility of single concentration assays can allow you to perform high throughput assays in-house with the right equipment. Imagine screening 10000 compounds on 30 384-well plates. Based on the scale of your first screens, consider an in-house approach rather than a CRO. Not only does this give you greater control over the assay quality in-house, but you can use the instrumentation for other studies later in the drug discovery pipeline.
When screening larger libraries, the time and cost-saving measures of biochemical assays like SPR and BLI are ideal. As you scale down your throughput and approach a lead molecule, these assays will still prove useful in the lead optimization stage. When you’re iterating on a lead molecule, it’s still useful for the simpler ligand-target model to understand the mechanism of your new molecules more clearly.
Cell-based and in vivo models are still required for the full data package when screening your molecules. Biochemical assays cannot quantify things like cytotoxicity, cell-cell interactions, drug metabolism, or efficacy, just to name a few. But, after all is said and done, the drug cannot work without it binding to it’s target. This simple interaction is the basis of drug discovery, so an assay like SPR or BLI can help rule out molecules quickly.
Let’s go back to screening large libraries in house. In lieu of (or in conjunction with) virtual screening, automation maximizes your data quality and output when screening initial hits in house.
BLI and Automation
The Octet, by Sartorious, is what I ran my first kinetic experiments on. I was testing antibodies for lyssaviruses as my ligand and a conserved epitope expressed recombinantly as my target. The goal was antibody discovery for a pan-lyssavirus mAb. The instrument I was using was from the previous decade and was definitely not high throughput. However, at SLAS this year, I was introduced to the latest Octets including the Octet RH96 which boasts a 96 channel head that can run all of those samples simultaneously. Sartorius, the makers of the Octet, partnered with Biosero to create a workcell incorporating the Octet for walkaway automation.
Biosero’s software, Green Button Go, is a widely used scheduling software, and Biosero also offers integration services allowing for a custom workcell featuring the Octet. They also have a software interface that allows for code-free scripting of your workcell. Let’s look at what this workcell could look like:
A LIMS system, like Benchling, to track samples and tie sample data to run data.
An automated fridge to hold reagents, in the case of my pan-lyssavirus antibodies and epitopes, recombinant proteins, at 4C.
A robotic arm, like the PFlex, I’ve mentioned before, which will transport your plates and reagents across the workcell.
A decapper, like this one from Diaago; additionally, Micronic tubes, racks, and scanners.
An Opentrons Flex to transfer the contents of the decapped tubes into specific wells(all tracked with barcoding and LIMS) for the Octet.
An Octet RH96 for the BLI assay.
Data management software, like CDD Vault, to house your raw and analyzed data. This step would also be automated ideally, exporting data from the Octet, importing it into your CDD Vault protocol, and analyzing it for you.
384 well plates with barcodes. According to their application note, the Octet can process 384 well plates. One 384-well plate is cheaper than 4 96-well plates.
Biosero’s Green Button Go software for scheduling and control of the workcell.
In automation, we want to reduce the amount of human interference with our experiment to reduce the amount of errors in a protocol. This setup has the potential to reduce human intervention to almost 0. Storing your samples with Diaago products facilitates sample tracking because their tubes have barcodes on the bottom of them that can be read all at once with a specialized scanner. I can talk in a subsequent post about the importance of barcoding and LIMS, but the barcodes on the tubes and plates allows for sample tracking. Sample tracking is crucial to any drug discovery effort and could be a major setback if not tracked properly.
If the data acquisition and analysis were automated, this could save a ton of time for dry lab work, especially with higher throughput workflows. The walkaway time awarded by this workcell allows for a record number of samples to be run in-house since the robot could run 24/7.
Conclusion
Biochemical assays, particularly those that can measure binding kinetics between your test molecule and drug target, should be considered for your drug discovery workflow. I hope I gave you an idea of what a biochemical binding assay is, what its use cases are in drug discovery, and how automation can be used to bring these assays in house with an example of a fully automated workcell. I definitely learned more about this space, and I’ve only scratched the surface. As always, thank you for your continued support, and I hope you have a great rest of your week!